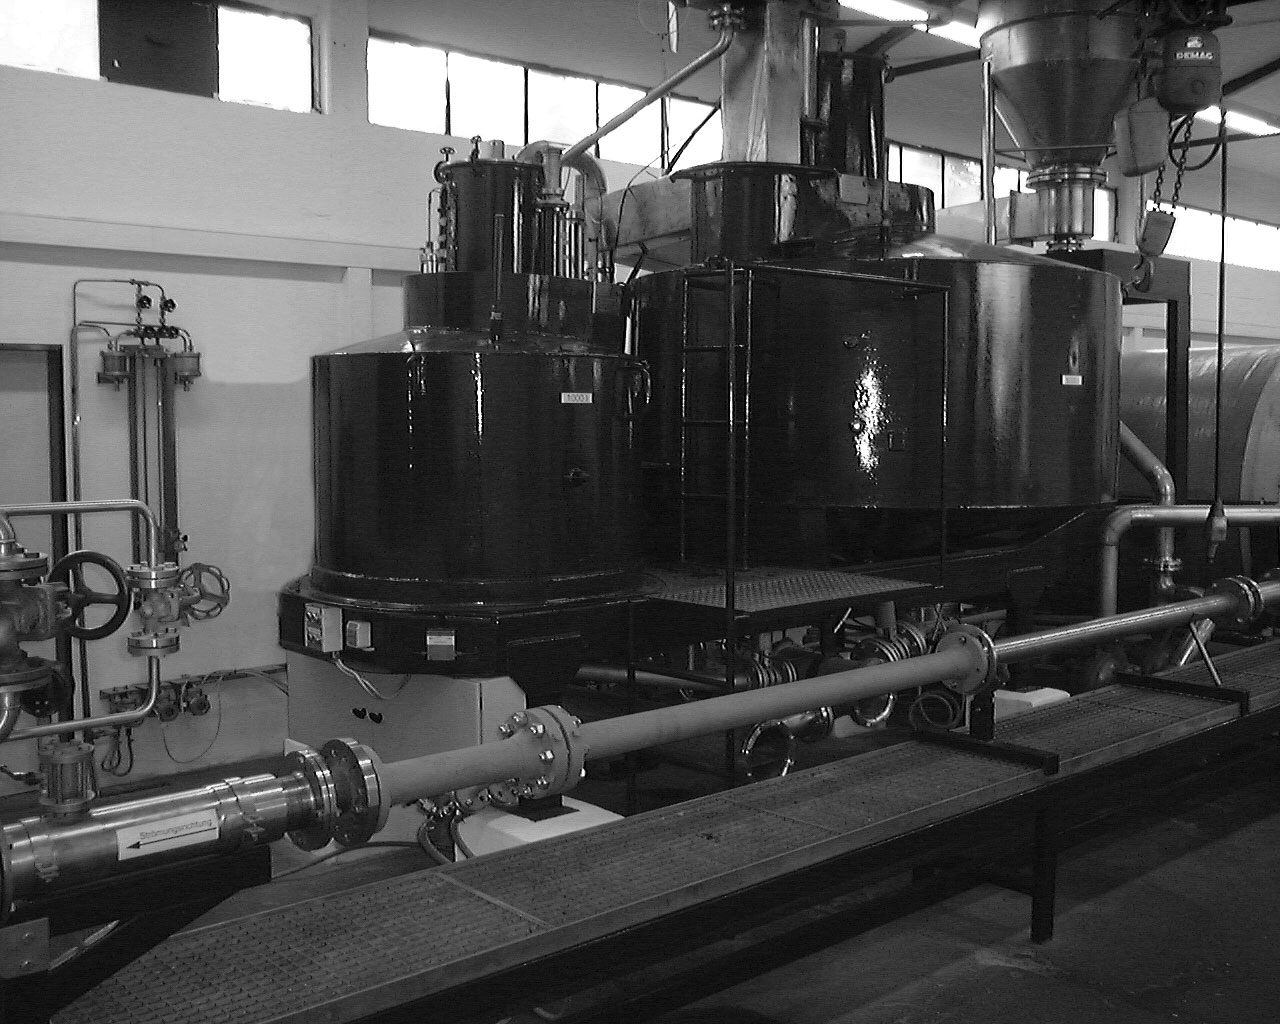
With our inhouse test stand we serve as an auhtorized calibration processing office of Northrhein Westphalia for primary devices according to DIN 5167 and therewith provide calibrations for primary devices for teperature, pressure, length and flow.
For that matter different calibration methods can be used – wet and dry calibration. With the wet calibration we can handle flow measurement section up to a nominal sze of NS100. With the dry calibration process we offer various test options for orifics, nozzles and measurement section tubes starting at NS 50.
The test object is installed in the loopback including its infeed tube and outlet pipe. The measurement is conducted with flying „start and stop“ in order to achieve a constant flow.
During the measuring process, all individual measurement data is registered, corrected and analyzed. The documentation includes the actual flow rate and the specific differential pressure with regards to the operating fluid.
The resulting measurement uncertainty is 0.8%.
The pipes of the measurment sections are measured at various point up to a distance of 2xD before and after the orifice. The detemrined average is put into the primary device calculation within the permissible tolerances.
For orifices and nozzles the geometric dimensions according to DIN EN ISO 5167 (Part 1 – 3) are reviewed and completely registered in a protocol. Especially the edge radius that influences the flow coefficient significantly is measured with a 930-fold enlarged lead print. For nozzles the inlet contour is checked with an appropriate jig.
The resulting measurement uncertainty corresponds to DIN EN ISO 5167 as well as EO – 7.2 and amounts to 0.9% for orifices and 1.1% for nozzles.

Further information regarding limitations for domestc calibration can be find in our fact heet „SWK“ concerning calibration services that is stored in our download center.